During February M decided it was time to tackle the next renovation project in the house, this time focusing on the upstairs bathroom. By the end of April it was all finished so I thought it was time I put together a little before and after post. Beware, as per all the other renovation posts there are lots of photos!!


This is what the bathroom originally looked like, it had a shower, bath, toilet and sink all tightly packed into quite a small room. During our first year here we had new windows fitted and the chaps removed some of the tiles around the window. It had been like this for about 3 years but it's amazing how you get used to things and after a while don't even notice them anymore.

One thing I always disliked was the cold tiles on the floor, especially when you were barefooted in the middle of the night!!

The sanitary ware was rather ornate with gold effect taps and scalloped edges which I really hated trying to keep clean. The sink was also very low and we only had a tiny little mirror hanging from a nail of the wall.

With a wood ceiling the bathroom was quite dark and we only had 2 rather ineffective lights.

When M sets his mind to something I don't like to stand in the way so a couple of hours later and the bathroom was emptied and handed over for M to do his magic.

One day later and M had certainly been busy removing the old shower and bath panels.


Not long until the wooden ceiling was torn down along with a lot of the wall and floors tiles.

With all the tiles and sanitary ware removed we were able to see what state the wall and floor were in. Sadly it appeared that the shower had been leaking for some time so the walls were damp and mouldy and some of the floor joists had started to rot.

Next to the bathroom was the little bedroom/office. In order for M to assess the extent of the damage to the floor he had to remove the stud wall dividing the rooms. It always seems that one job leads to another and another and so the project was getting slightly larger. After a lot of hard work M replaced the floor joists and was able to start laying the floor and rebuilding the stud wall. Or so we thought!

We had one little mishap when M slipped and put his foot through the floor of the bathroom and into the ceiling of the craft room below. At least it made checking the pipework easier. I was able to get sheets over most of my wool to limit the dust damage which also helped with the clean up operation.

The bathroom was always quite a cold room and as with the other renovation projects one main concern was the introduction of insulation in the walls. Once the largest wall was insulation M briefly fitted the new radiator to check the plumbing and pipe locations.

After the joists were sorted the floor boarding was in and the room was starting to take shape again.

M put his DIY skills in motion and in no time we had a stud wall up, the walls were all boarded and the first part of the floor was in.

Next M put down a layer of scree to level the floor.
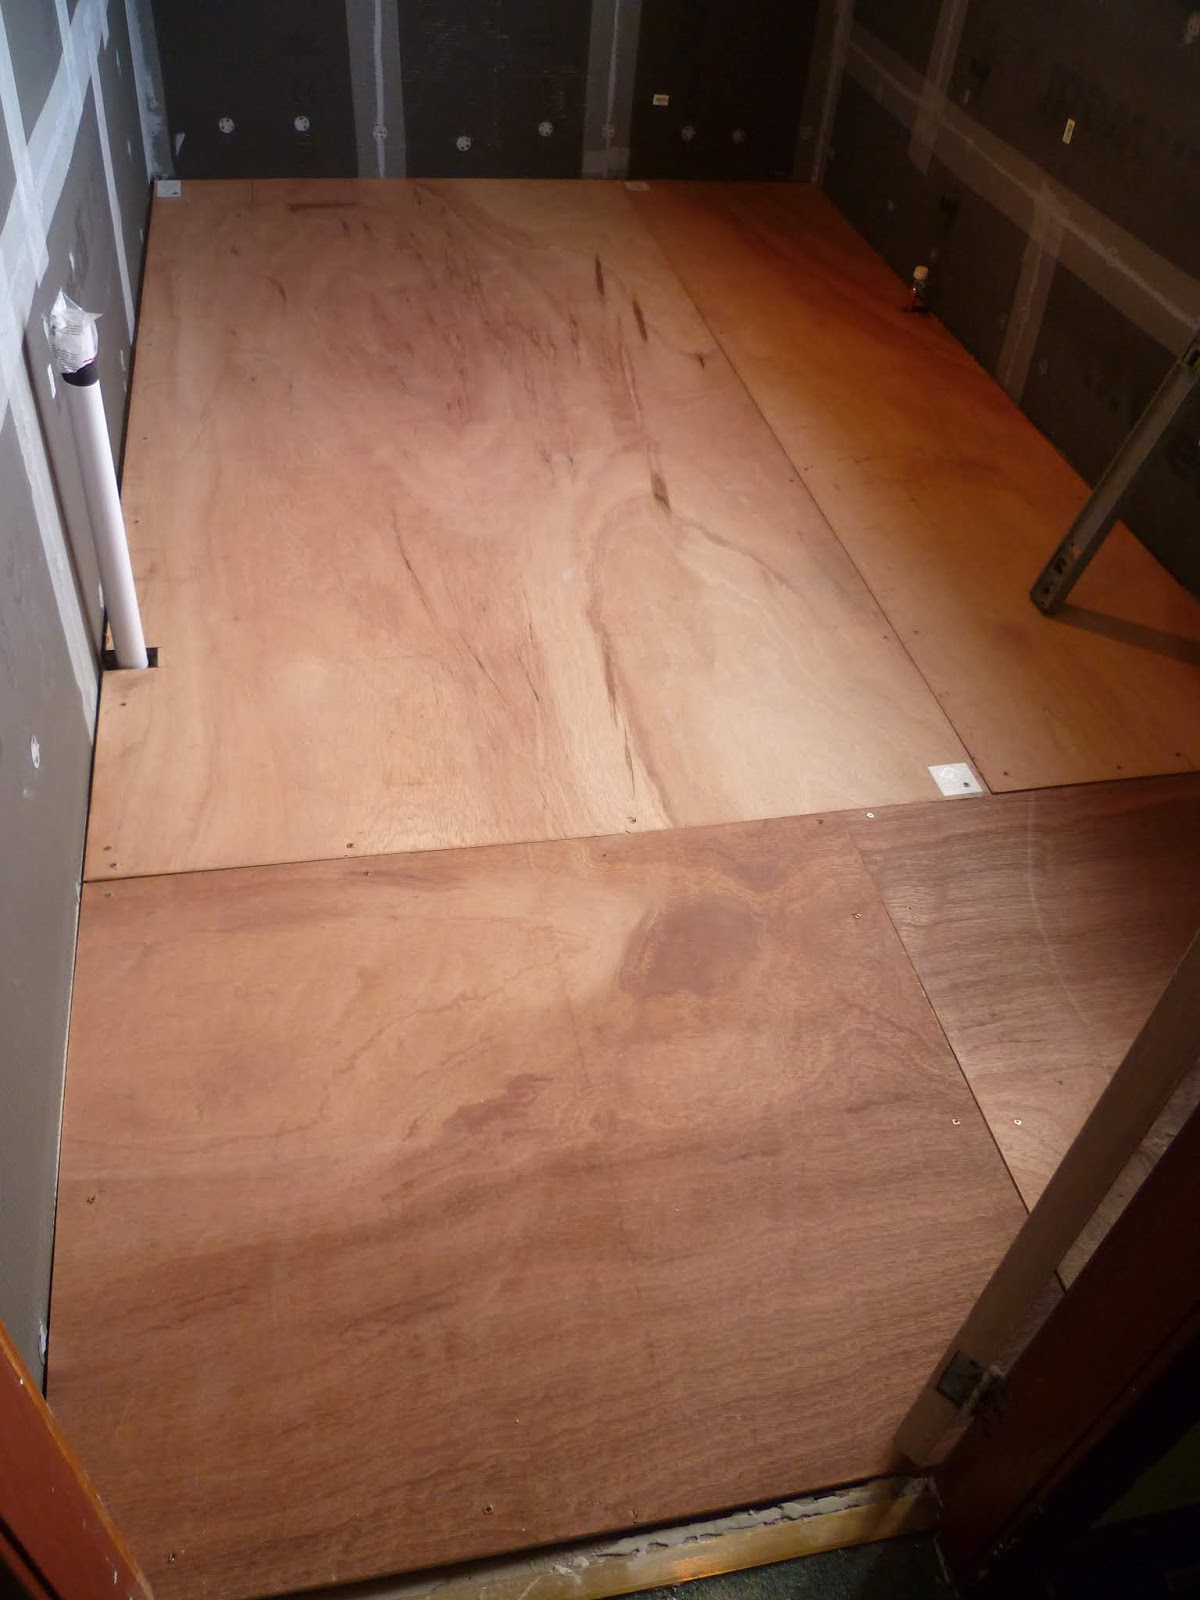
Lastly the ply boards were laid on top of the scree ready for the flooring, well all in due time of course.

On a bit of a roll M got the shower tray installed and measured up the sink unit ready to be fixed after a few others jobs were completed.

Having got rid of the sauna style wooden ceiling we got our plasterer in to finish off the ceiling. This was also a good excuse for M to have a couple of days off, waiting for it to dry.

Full steam ahead and we were soon fitting the waterproof wall sheeting around the shower area. After looking so dark it was lovely to see the room beginning to brighten up again.

M was working very hard to get things moving and with the shower in along with the sink and mirror unit it was great to see the room resembling a bathroom.

After a visit from our electrician we had light and a working shower, not quite a functional bathroom just yet but looking good.

Having lights certainly made working in the bathroom much easier.

Expanding his already wide range of DIY skills M made an amazing job of tiling 2 and a half of the walls (the rest were covered with the splash boarding).

Together we huffed and puffed and eventually got the shower enclosure in. Having made so much progress M completed the sink unit and fitted the tap before starting on the floor. Next came the toilet and the rest of the floor.

Once the flooring was in then so was the new shiny (and big) radiator. Oh and you can just see the edge of the toilet.

I was getting very excited at this stage as I knew it wouldn't be long until we were able to use the shower!!


A few last adjustments, adding hooks and toilet rolls holders etc and dare we say, it was finished - massive thanks and congratulations to M for all his hard work.

What a difference, a clean modern and gorgeous bathroom (well, shower room really). Now onto the little bedroom next door. An unplanned but necessary project.

The dividing wall between the bathroom and bedroom still needed some work on the bedroom side.

Thankfully it didn't take M long to board the walls ready for lining paper.

Most of the time we paint the walls so we thought it might be a nice change to pick out some wallpaper.

As the room was to be a small bedroom and office combined we settled on a book themed wallpaper. Yet another DIY test for M.

With the new carpet fitted we managed to squeeze the single bed and furniture back in and hang our pictures back up. Maybe one day I'll even get my sewing machine out and sort out some curtains.

Even the little office corner was coming together, the end of another successful renovation.